No-bake cookies are the unsung heroes of the dessert world. When the temperature soars and the thought of turning on the oven makes you break into a sweat, these stovetop wonders come to the rescue.
With their quick preparation time and minimal equipment needs, they’re the perfect solution for busy parents, novice bakers, or anyone who wants homemade treats without the fuss.
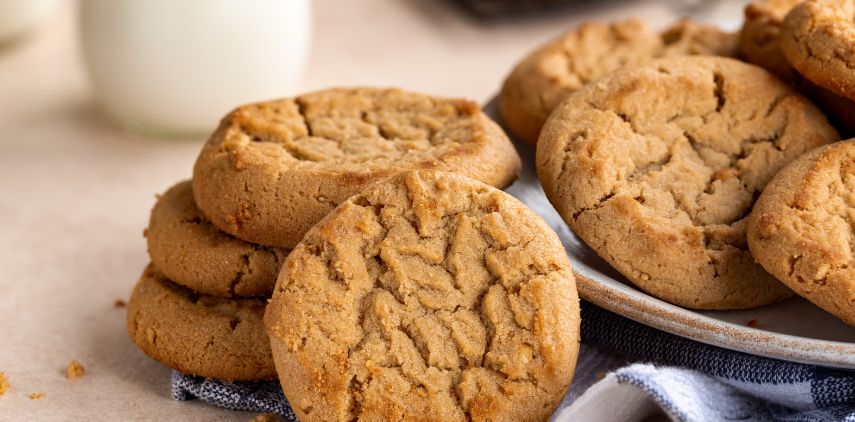
Peanut butter no-bake cookies, in particular, hold a special place in many hearts. There’s something magical about the combination of creamy peanut butter, rich chocolate, and hearty oats that creates the perfect texture – slightly chewy, a little crunchy, and completely satisfying.
These cookies have been passed down through generations, with each family adding their own special twist to make them uniquely theirs.
What makes this recipe truly special is its forgiving nature. Don’t have quick oats? Regular will do. Crunchy peanut butter instead of smooth? That just adds texture!
The recipe adapts to what you have on hand, making it perfect for those moments when you’re craving something sweet but don’t want to make a special trip to the store.
Plus, they’re ready to eat in under 30 minutes from start to finish – now that’s what I call instant gratification!
INGREDIENTS
The Base Ingredients:
- 1/2 cup (1 stick) unsalted butter
- 2 cups granulated sugar
- 1/2 cup milk (whole milk works best, but any type will do)
- 1/4 cup unsweetened cocoa powder
- 1 cup creamy peanut butter (or crunchy for more texture)
- 3 cups quick-cooking oats
- 1 teaspoon pure vanilla extract
- 1/4 teaspoon salt
The beauty of these cookies lies in their simplicity. Every ingredient serves a purpose in creating that perfect no-bake texture we all love. The butter, sugar, milk, and cocoa powder form the foundation – a chocolate syrup that binds everything together.
The peanut butter adds creaminess and that distinctive nutty flavor that pairs so perfectly with chocolate. Meanwhile, the oats provide structure and a satisfying chew, while the vanilla and salt balance and enhance all the flavors.
What’s wonderful about this recipe is how adaptable it is to dietary needs and pantry limitations. Need a dairy-free version? Substitute coconut oil for butter and use almond milk.
Want to reduce the sugar? Cut it back by 1/4 cup and add a mashed banana for natural sweetness. You can even swap in almond or sunflower seed butter if peanut allergies are a concern.
The core technique remains the same, but you can make these cookies uniquely yours with just a few thoughtful substitutions.
INSTRUCTIONS
Step 1: Prepare Your Workspace
Before diving in, line two baking sheets with parchment paper or wax paper. This gives your cookies a non-stick surface to set up on.
Next, measure all your ingredients and have them ready to go – this recipe moves quickly once you start, and having everything prepared will make the process smooth and enjoyable.
If you’re working with kids, this is a great time to assign measuring duties and talk about kitchen safety since we’ll be using the stovetop.
Step 2: Create the Cookie Base
In a medium saucepan over medium heat, combine the butter, sugar, milk, and cocoa powder. Stir continuously until the butter melts completely. Once the mixture reaches a rolling boil, set a timer and let it boil for exactly 1 minute without stirring.
This precise timing is crucial – too short and your cookies won’t set properly; too long and they’ll become dry and crumbly.
After the minute is up, remove from heat and immediately stir in the peanut butter, vanilla, and salt until the mixture is smooth and the peanut butter is completely incorporated.
Step 3: Finish and Set the Cookies
Add the oats to your peanut butter mixture and stir quickly to combine everything evenly. The mixture will begin to thicken as it cools, so work fast!
Using a cookie scoop or two spoons, drop rounded tablespoons of the mixture onto your prepared baking sheets. If you want perfectly round cookies, you can shape them slightly with your spoons.
Allow the cookies to cool at room temperature until set, which usually takes about 20-30 minutes. For faster setting, pop them in the refrigerator for 10-15 minutes.
Once set, transfer to an airtight container, separating layers with wax paper to prevent sticking.
FAQs
Why didn’t my cookies set properly?
The most common culprit for cookies that stay too soft is insufficient boiling time. The sugar mixture needs to reach the soft-ball stage (about 235°F if you’re using a candy thermometer), which typically requires a full minute of rolling boil.
Weather can also play a role – on very humid days, you might need to add an extra 1/4 cup of oats or boil for 15 seconds longer.
Conversely, if your cookies turn out too dry or crumbly, you likely boiled the mixture too long. Remember, precision matters in candy-making techniques!
How should I store these cookies, and how long do they last?
These no-bake wonders can be stored in an airtight container at room temperature for up to 5 days, though they rarely last that long in most households!
For longer storage, place them in the refrigerator where they’ll stay fresh for up to 2 weeks. The cool temperature actually enhances their fudgy texture, making them even more delightful.
You can also freeze them for up to 3 months – just separate layers with wax paper, thaw at room temperature for about 30 minutes before serving, and they’ll taste almost freshly made.
Can I make these cookies healthier or adapt them for dietary restrictions?
Absolutely! These cookies are incredibly versatile. For a healthier version, reduce the sugar to 1 1/2 cups and use natural peanut butter without added sugars. You can substitute coconut sugar for a less refined option. Need them gluten-free?
Just make sure your oats are certified gluten-free. For a vegan version, use plant-based butter, non-dairy milk, and ensure your sugar is vegan (some are processed with bone char).
You can even add nutritional boosts like chia seeds, ground flaxseed, or chopped nuts for extra protein and healthy fats.
CONCLUSION
No-bake peanut butter cookies are more than just a quick dessert – they’re a blank canvas for creativity. Once you’ve mastered the basic recipe, the variations are endless. Try adding shredded coconut, mini chocolate chips, or a sprinkle of sea salt on top for an elevated twist.
You could drizzle them with melted white chocolate or press a chocolate kiss into the center while they’re still warm. Some bakers even add a dash of cinnamon or a pinch of cayenne for a surprising flavor kick.
Beyond their delicious taste, these cookies create moments of connection. There’s something special about gathering in the kitchen with loved ones, taking turns stirring the pot, and stealing little tastes of the warm mixture (we all do it!).
They’re perfect for teaching children basic cooking skills without the dangers of a hot oven. And because they come together so quickly, they’re ideal for last-minute bake sale contributions or unexpected guests.

