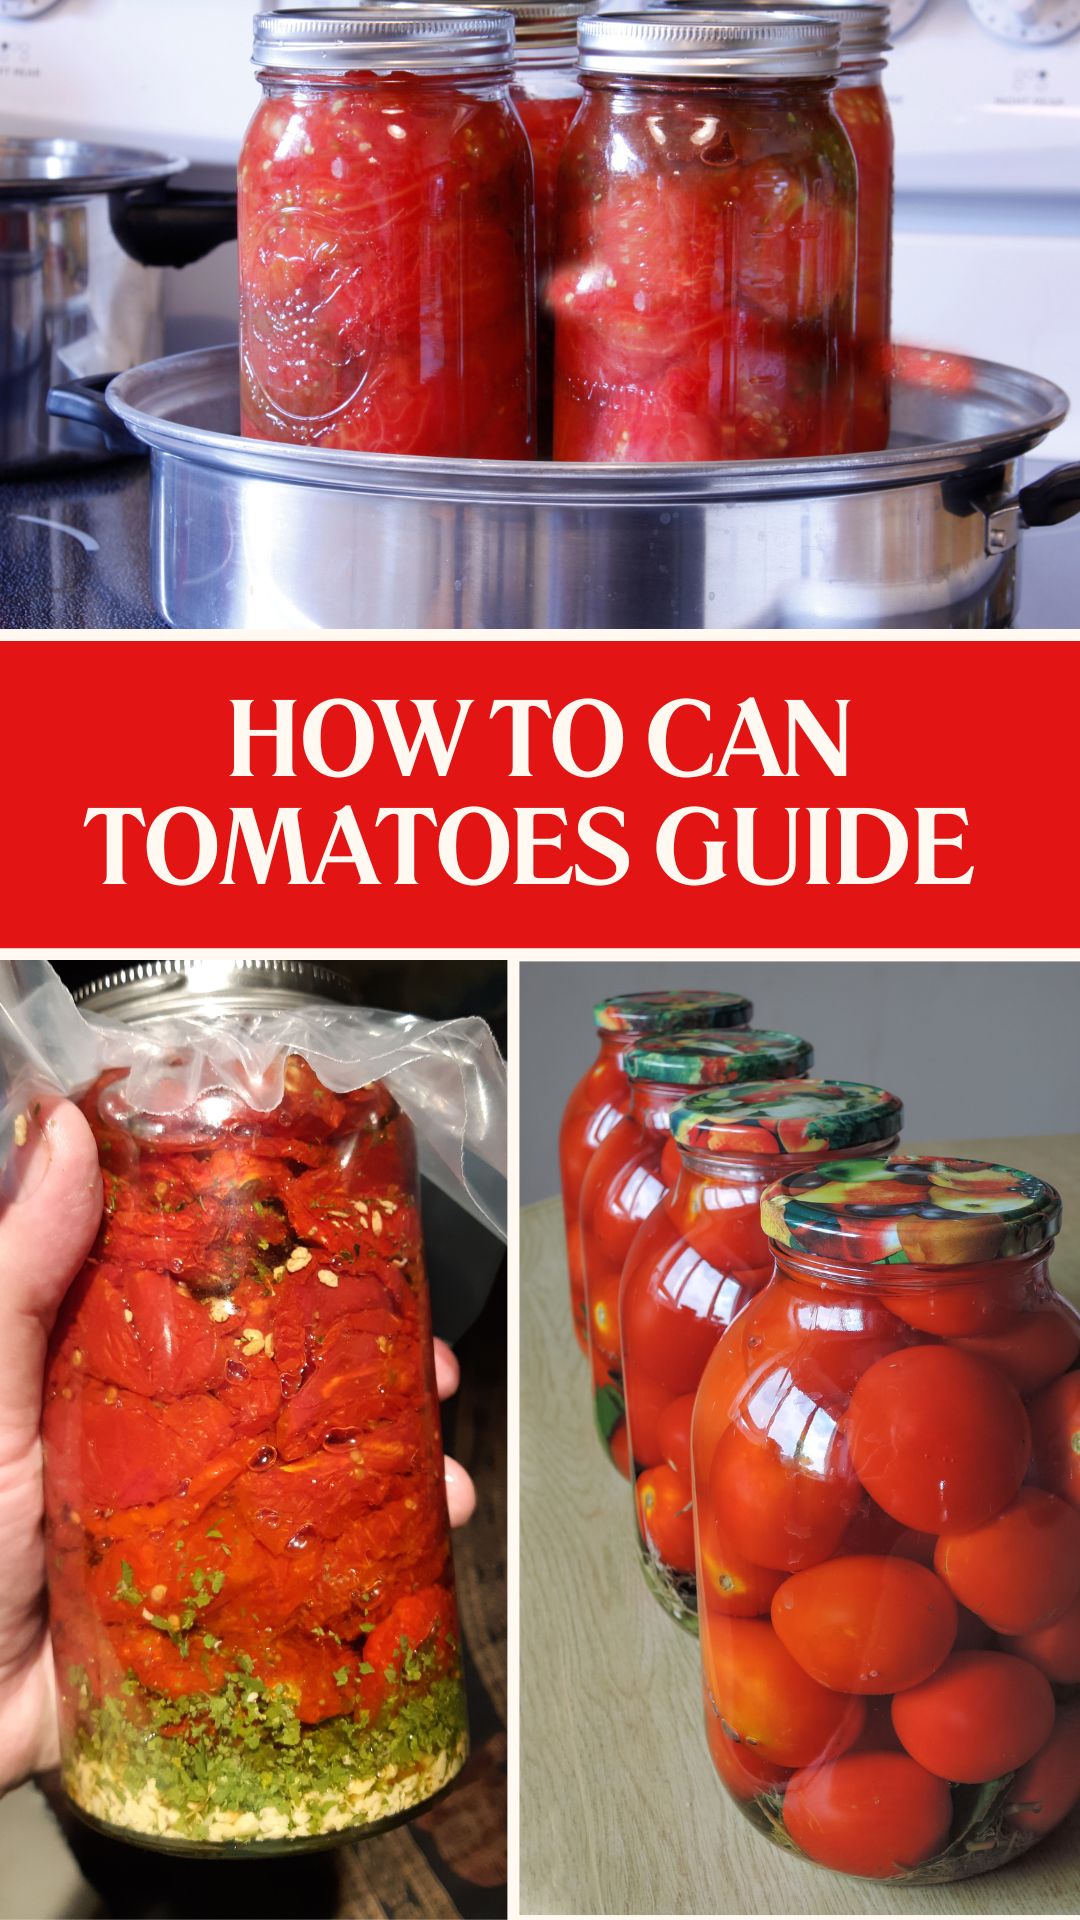
Canning tomatoes is one of my favorite summer traditions. There’s something incredibly satisfying about preserving the vibrant flavors of fresh tomatoes to enjoy all year long. When I first started, I was a bit intimidated, but I quickly learned that with the right steps and a little patience, it’s quite simple.
I’ll walk you through the process of canning tomatoes, so you too can savor that fresh, homemade taste whenever you like.
Step-by-Step Guide to Canning Tomatoes
Materials Needed:
- Fresh tomatoes
- Canning jars with lids and bands
- Large pot
- Canning pot with rack
- Canning funnel
- Jar lifter
- Ladle
- Bubble remover tool (or a non-metallic spatula)
- Clean towels
- Lemon juice or citric acid
- Salt (optional)
Step 1: Prepare the Tomatoes
- Select Fresh Tomatoes: Choose ripe, firm tomatoes without blemishes or cracks.
- Wash the Tomatoes: Thoroughly rinse the tomatoes under cold water.
- Blanch and Peel:
- Bring a large pot of water to a boil.
- Make a small “X” cut at the bottom of each tomato.
- Immerse the tomatoes in boiling water for 30-60 seconds, until the skins start to split.
- Immediately transfer the tomatoes to a bowl of ice water.
- Once cooled, peel off the skins using your fingers or a paring knife.
Step 2: Prepare the Jars
- Sterilize the Jars: Wash jars, lids, and bands in hot soapy water, then rinse well. Sterilize the jars by boiling them in water for 10 minutes or using a dishwasher with a sterilize cycle.
- Prepare Lids: Place the lids in a small pot of simmering (not boiling) water to soften the sealing compound. Keep them in the hot water until ready to use.
Step 3: Fill the Jars
- Cut the Tomatoes: Core the peeled tomatoes and cut them into quarters or halves.
- Add Acid: To each sterilized jar, add 2 tablespoons of bottled lemon juice or ½ teaspoon of citric acid per quart jar (1 tablespoon of bottled lemon juice or ¼ teaspoon of citric acid per pint jar) to ensure safe acidity levels.
- Pack the Tomatoes:
- Pack the tomatoes into the jars, leaving a ½-inch headspace.
- Press down with a spoon to release some of the juices and eliminate air bubbles.
- Add a pinch of salt to each jar if desired (½ teaspoon per pint, 1 teaspoon per quart).
- Remove Air Bubbles: Use a bubble remover tool or non-metallic spatula to remove any air bubbles by sliding it around the inside edges of the jar.
- Wipe the Rims: Wipe the rims of the jars with a clean, damp cloth to ensure a good seal.
- Apply Lids and Bands: Place the lids on the jars and screw on the bands until fingertip-tight.
Step 4: Process the Jars
- Fill the Canning Pot: Fill the canning pot with enough water to cover the jars by at least 1 inch.
- Preheat Water: Bring the water to a simmer before adding the jars.
- Process the Jars:
- Using a jar lifter, carefully lower the jars into the canning pot.
- Bring the water to a full rolling boil.
- Process pint jars for 35 minutes and quart jars for 45 minutes (adjust for altitude as necessary).
- Cool the Jars:
- After processing, turn off the heat and let the jars sit in the water for 5 minutes.
- Use the jar lifter to remove the jars and place them on a towel to cool.
- Do not retighten the bands.
Step 5: Check the Seals and Store
- Check the Seals: After 12-24 hours, check the seals by pressing down on the center of each lid. If it doesn’t pop back, the jar is sealed.
- Store the Jars: Remove the bands, wipe the jars clean, label with the date, and store in a cool, dark place. Unsealed jars should be refrigerated and used within a week.
Enjoy your home-canned tomatoes throughout the year!


