There’s something almost magical about the aroma of an apple pie baking in the oven—the sweet scent of cinnamon and sugar mingling with tart apples and buttery crust that seems to wrap around your home like a warm hug.
This classic dessert has earned its place at America’s table, becoming not just a treat but a cultural icon that represents comfort, tradition, and the simple joys of home baking.
Whether you’re a seasoned baker looking to perfect your pie game or a nervous newbie approaching the rolling pin with trepidation, this recipe will guide you through creating a dessert that’s sure to impress.
The beauty of apple pie lies in its straightforward ingredients and forgiving nature—even “imperfect” pies tend to taste absolutely delicious!
So tie on your apron, dust your countertop with flour, and let’s embark on this deliciously rewarding baking adventure together.
INGREDIENTS
For the pie crust:
- 2½ cups all-purpose flour
- 1 teaspoon salt
- 1 tablespoon sugar
- 1 cup cold unsalted butter, cubed (2 sticks)
- 6-8 tablespoons ice water
- 1 tablespoon apple cider vinegar (secret ingredient for flakiness!)
For the filling:
- 8 medium apples (mix of Granny Smith and Honeycrisp recommended)
- ¾ cup granulated sugar
- ¼ cup brown sugar, packed
- 2 tablespoons all-purpose flour
- 1 tablespoon cornstarch
- 1½ teaspoons ground cinnamon
- ¼ teaspoon ground nutmeg
- ⅛ teaspoon ground cloves
- 2 tablespoons lemon juice
- 2 tablespoons butter, cut into small pieces
For the finish:
- 1 egg beaten with 1 tablespoon water (egg wash)
- 1 tablespoon coarse sugar for sprinkling
INSTRUCTIONS
First, let’s make the pie crust. In a large bowl, whisk together the flour, salt, and sugar. Add the cold cubed butter and use a pastry cutter or your fingertips to work it into the flour until the mixture resembles coarse crumbs with some pea-sized pieces remaining.
Mix the ice water and apple cider vinegar in a small cup, then drizzle it over the flour mixture, one tablespoon at a time, stirring gently with a fork until the dough begins to come together.
Be careful not to add too much water – the dough should be moist enough to hold together when squeezed but not wet or sticky.
Divide the dough into two equal portions, shape each into a disk, wrap in plastic wrap, and refrigerate for at least 1 hour or up to 2 days. This resting time is crucial for a flaky crust, so don’t skip it!
For the filling, peel, core, and slice the apples into ¼-inch thick slices. In a large bowl, toss the apple slices with lemon juice to prevent browning. In a separate bowl, mix together the sugars, flour, cornstarch, cinnamon, nutmeg, and cloves.
Add this dry mixture to the apples and toss until evenly coated.
Preheat your oven to 425°F (220°C). Take one disk of dough from the refrigerator and let it sit for about 5-10 minutes to slightly soften. On a lightly floured surface, roll the dough into a 12-inch circle, about ⅛-inch thick.
Carefully transfer it to a 9-inch pie dish, gently pressing it into the bottom and sides without stretching the dough. Trim the edges, leaving about a ½-inch overhang.
Pour the apple filling into the pie crust, mounding it slightly in the center. Dot the top of the filling with the small pieces of butter.
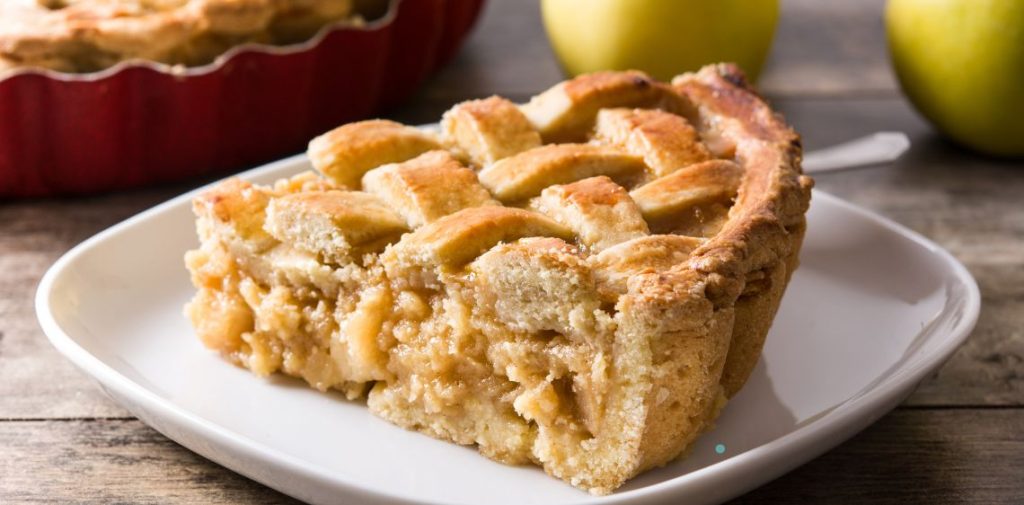
Roll out the second disk of dough and either place it whole over the filling (cutting slits for steam to escape) or create a lattice pattern for a more decorative touch. Trim the excess dough, then fold the overhang of the bottom crust over the top crust and crimp the edges to seal.
Brush the top crust with the egg wash and sprinkle with coarse sugar. Place the pie on a baking sheet (to catch any drips) and bake at 425°F for 20 minutes.
Then reduce the temperature to 375°F (190°C) and continue baking for 35-40 minutes more, until the crust is golden brown and the filling is bubbling. If the edges are browning too quickly, cover them with aluminum foil or a pie shield.
Allow the pie to cool on a wire rack for at least 2 hours before slicing. This cooling time allows the filling to set properly, ensuring clean slices rather than a runny mess.
Serve warm or at room temperature, perhaps with a scoop of vanilla ice cream for the ultimate indulgence!

FAQs
1. What are the best apples to use for apple pie?
The secret to a perfect apple pie is using a mix of apple varieties! I recommend a combination of tart Granny Smith apples (which hold their shape well during baking) and sweeter varieties like Honeycrisp, Braeburn, or Jonagold.
This gives you a balanced flavor and texture that’s neither too mushy nor too firm.
2. Can I make this pie ahead of time?
Absolutely! You can prepare the dough up to 3 days in advance and keep it refrigerated, or freeze it for up to 3 months. The entire assembled pie can be frozen unbaked for up to 3 months (just add about 15 minutes to the baking time when cooking from frozen).
A baked pie will keep at room temperature for 2 days or refrigerated for up to 4 days.
3. Why is my pie crust shrinking when I bake it?
Shrinking crust is usually caused by overworking the dough (which develops too much gluten) or not allowing it to rest long enough before baking.
Handle the dough as little as possible, make sure to chill it properly, and don’t stretch the dough when placing it in the pie dish.
4. My filling turned out too runny. What went wrong?
Runny filling can happen if the apples release too much juice during baking or if the thickeners (flour and cornstarch) weren’t properly incorporated.
Make sure to thoroughly mix the dry ingredients with the apples, and consider letting the filled pie sit for 30 minutes before baking to allow the apples to release some juice and the thickeners to begin working.
5. Can I make this pie vegan or gluten-free?
Yes! For vegan pie, substitute the butter with solid coconut oil or a vegan butter alternative, and use plant milk instead of egg wash.
For gluten-free, use a cup-for-cup gluten-free flour blend in place of all-purpose flour. Just note that these substitutions may slightly alter the texture and flavor of the final pie.
There you have it—a classic apple pie recipe that balances sweet and tart flavors in a perfectly flaky crust! While the process might seem involved, the rewards are immeasurable: not just in the delicious dessert you’ll share, but in the joy of creating something with your own hands and the memories made around your table.
Remember, pie-making is as much an art as it is a science—each pie will be uniquely yours, telling the story of your kitchen and your personal touch. So embrace any “rustic” qualities in your creation and know that with each pie you bake, you’re participating in a delicious tradition that spans generations.
Happy baking, and may your home be filled with the irresistible aroma of apple pie very soon!

