Baking sourdough bread at home has always felt like a magical process to me. The transformation of simple ingredients—just flour, water, salt, and a bit of patience—into a beautiful, crusty loaf is endlessly fascinating.
There’s something profoundly satisfying about nurturing your own sourdough starter, watching it bubble and grow, and then using it to create bread that’s full of flavor and character.
When I first started baking sourdough, I was intimidated by the complexity I saw in many recipes. But over time, I’ve developed a straightforward method that’s perfect for beginners.
This simple sourdough bread recipe focuses on the basics, making it easy to follow while still yielding a delicious, artisan-style loaf. Whether you’re new to sourdough or looking to simplify your process, this recipe will guide you through each step with clarity and ease.
So, roll up your sleeves, dust off your mixing bowl, and let’s dive into the wonderful world of sourdough baking. There’s nothing quite like the aroma of freshly baked bread filling your home, and I promise, the effort you put in will be more than worth it.
Simple Sourdough Bread Recipe
Ingredients:
- 500g bread flour
- 350g water (at room temperature)
- 100g active sourdough starter
- 10g salt
Instructions:
- Feed Your Starter:
- If your sourdough starter is stored in the refrigerator, take it out and feed it with equal parts flour and water about 4-6 hours before you plan to start your dough. It should be bubbly and active.
- Mix the Dough:
- In a large mixing bowl, combine 100g of your active sourdough starter with 350g of water. Stir to dissolve the starter into the water.
- Add 500g of bread flour to the mixture. Use a spoon or your hands to mix until there are no dry bits of flour left. The dough will be shaggy and rough.
- Cover the bowl with a damp towel and let it rest for about 30 minutes. This is called the autolyse phase, and it helps to hydrate the flour.
- Add Salt:
- After the dough has rested, sprinkle 10g of salt over the dough. Wet your hands to prevent sticking, and fold the dough over itself several times to incorporate the salt evenly.
- Bulk Fermentation:
- Cover the bowl again with the damp towel and let the dough rise at room temperature for 4-6 hours. During this time, you will perform a series of stretch and folds to build the dough’s strength.
- Every 30 minutes for the first 2 hours, wet your hands and gently stretch one side of the dough up and fold it over the top. Rotate the bowl a quarter turn and repeat until you’ve stretched and folded all four sides. Do this a total of 4 times.
- Shape the Dough:
- After the bulk fermentation, the dough should be bubbly and have increased in volume. Turn the dough out onto a lightly floured surface.
- Gently shape the dough into a round by folding the edges into the center, then flipping it over so the seam is on the bottom. Use your hands to create surface tension by gently pulling the dough towards you and rotating it as you go.
- Second Rise:
- Place the shaped dough into a floured proofing basket (or a bowl lined with a floured towel), seam side up. Cover it with a damp towel and let it rise for 2-3 hours at room temperature, or overnight in the refrigerator for a slower, more flavorful fermentation.
- Preheat the Oven:
- Place a Dutch oven or a heavy lidded pot in your oven and preheat to 450°F (230°C) for at least 30 minutes before you plan to bake.
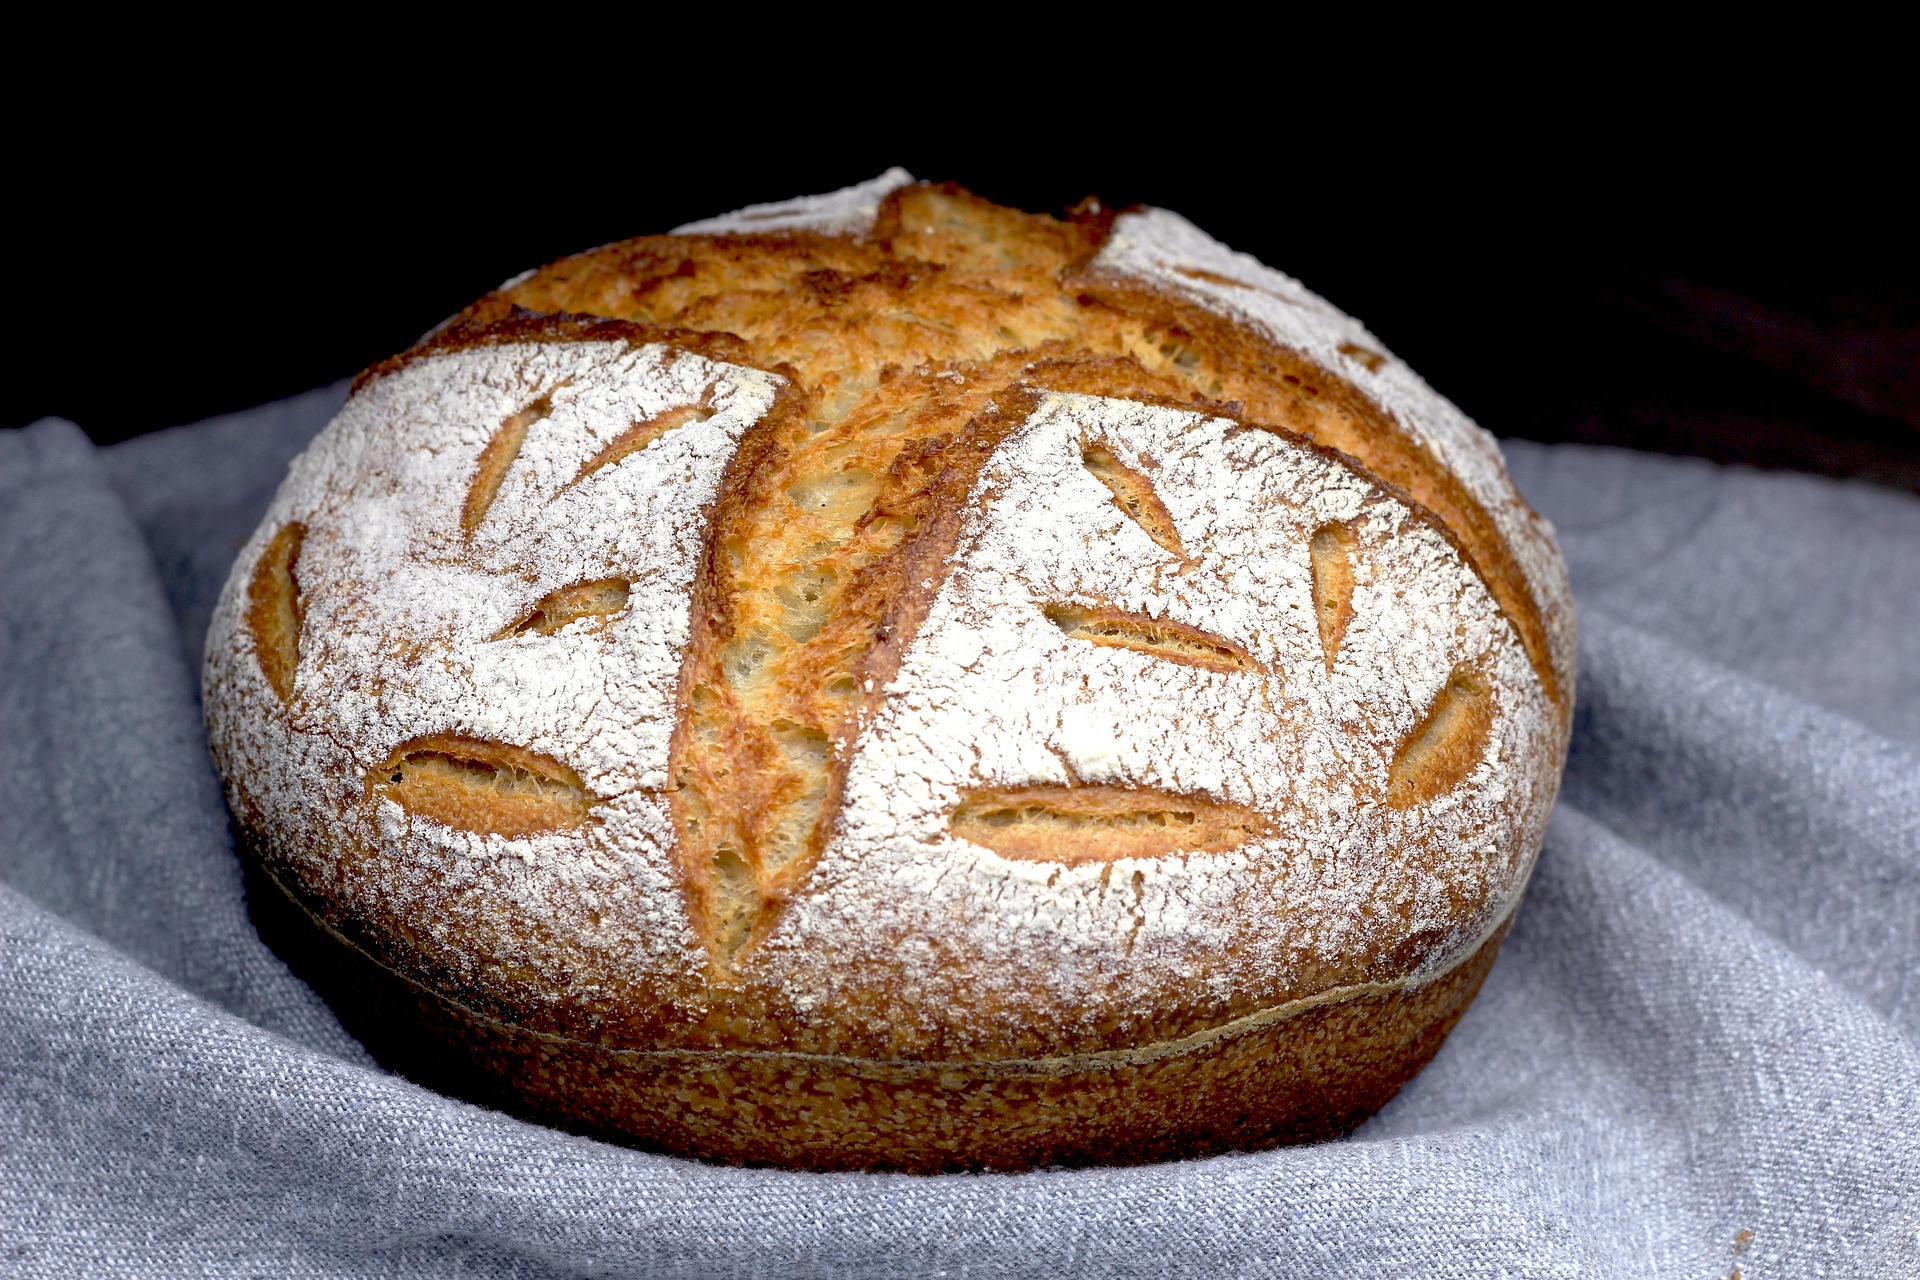
- Score and Bake:
- Carefully remove the Dutch oven from the oven. Gently turn the dough out onto a piece of parchment paper.
- Using a sharp knife or a razor blade, score the top of the dough with a few shallow cuts. This will allow the bread to expand while baking.
- Lower the dough, still on the parchment paper, into the preheated Dutch oven. Cover with the lid and place back into the oven.
- Bake for 20 minutes with the lid on, then remove the lid and bake for an additional 20-25 minutes, or until the crust is deeply golden and the bread sounds hollow when tapped on the bottom.
- Cool and Enjoy:
- Remove the bread from the Dutch oven and let it cool on a wire rack for at least an hour before slicing. This allows the crumb to set properly.
Congratulations! You’ve just baked a delicious loaf of sourdough bread. Enjoy the fruits of your labor, and don’t forget to save a bit of your starter for your next baking adventure.

